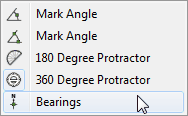
There are two quite distinct ways of using the bearings tool.
Drawing in the Bearing Line
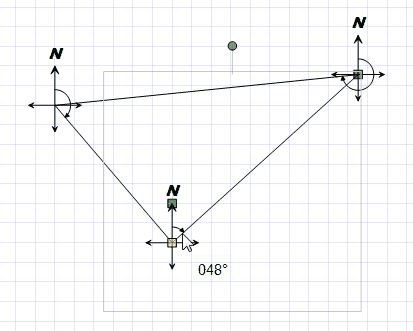
By default, FX Draw draws in the bearing line (or the "course"). This means that, if you are drawing in a bearing between A and B it will appear like this.
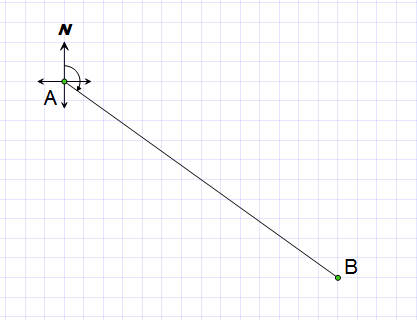
Using the bearings tool in this way is a bit like drawing lines. You simply draw your course and FX Draw will add a little bearings set at the start point of each line. It is quick but you don't have a lot of control over how the lines are drawn.
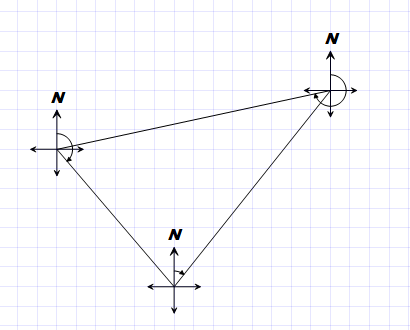
If you select one of the lines and then hover over it with your mouse, FX Draw will show you the value of the indicated bearing. You can make this permanent by right-clicking and Adding an Annotation.
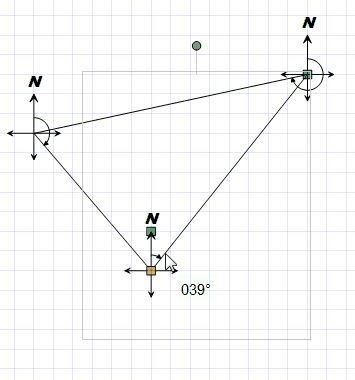
Right - clicking on a bearing allows you set the bearing properties and optionally saving those settings as the default.
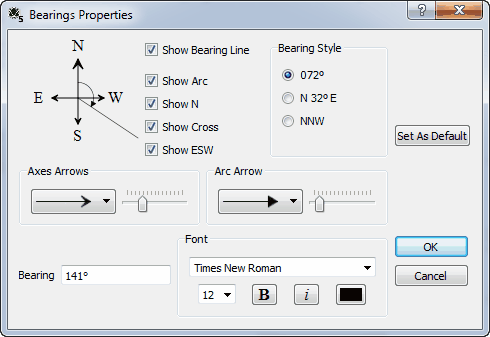
Most settings are self-explanatory. One important point to note is that you can enter your own value for the bearing (using common notations like 048, 48, N48E, E42N, NE) and FX Draw will adjust your diagrams to suit.
Also note the option to Show the Bearing line (in the first example, the line from A to B). Turning this off and setting this as a new default causes the bearing tool to behave in a slightly different way.
No Bearing Line
Sometimes you will want to add bearings to an existing diagram or you will want more control over how the bearing line is drawn. If this is the case, turn off Show Bearing Line in the properties and Set the Default.
When you add the bearing to an existing line, start where you want the bearing to display and release the mouse when you are anywhere on the existing line. The bearing will attach to the line but the tool will not try to draw its own line over your existing one.